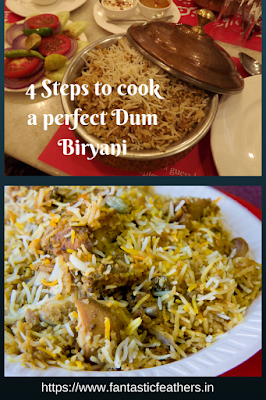
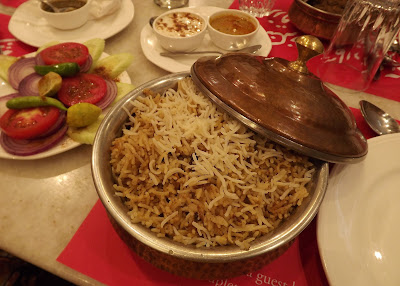
Dum Biryani is a specialty of Hyderabad where the spicy rice is flavored with mutton/ chicken/ vegetables. This item is basically from Mughalai cuisine. Biryani is one of the top 5 things to try in Hyderabad.
Me, being an immature cook was afraid to try this for a long time. The rice needs to be half boiled and cooked with spices and vegetables/ chicken/ mutton. We should know exactly how much time we should cook the rice before starting the dum process. But, recently I watched a video from Vah chef on Vegetable Dum biryani and tried it. It came out perfect. I used the same process to prepare Chicken Biryani and was successful too.
Here are a few important steps to get that awesome Hyderabadi Flavour:
1. Marination
Whether you are attempting a vegetable Dum biryani/ Chicken/ Mutton dum biryani, just use the following ingredients to marinate. Marination for 2 hrs is enough but overnight is perfect.
Vegetables/ Chicken/ Mutton pieces (1/2 kg)
Salt - As per taste
Chilli powder - 2 spoons
Cut green chilies - 3 to 4
Ginger garlic paste - 2 spoons
Cumin powder - 1 spoon
Corriander powder - 1 spoon
Curd - 1/2 cup
Mint leaves - A few
Corriander leaves - A few
Lime juice - 2 spoons
2. Boiling of Rice
This is very crucial. I was afraid to attempt the dum biryani only because I didn't know what it means to boil rice by 70%. Fortunately, I found an easy way for it.
First, soak the basmati rice for 30 mins (usually, 4 to 5 cups is good for 1 kg chicken/ vegetables/ mutton). Boil water in a big saucepan by adding a few oil drops, salt, spices like cinnamon, biryani leaf, cardamom, cloves etc., When water bubbles, add the soaked rice. Wait until the water starts to bubble with rice. When it does, just put a timer for 5 mins and switch off the stove after 5 mins. Rice will be 70% cooked.
3. Starting process
In a big handi, add the required oil and spices like cinnamon, biryani leaf, cardamom, and cloves. Add onion cut into long slices and 6 green chilies slit in the middle. Stir continuously that the spices and onions are not burnt but turn to golden brown. Add 2 spoons of ginger garlic paste and fry in low flame until the masala smell comes out. Add a few mint leaves, cashew and 1 spoon of ghee. Then, add the marinated vegetables/ chicken/ mutton. Let it cook for 5 to 10 mins with lid covered.
Before we start the dum process, the vegetables/ chicken/ mutton should cook 70% so that they are soft and tender mixed with spices.
4. Dum process
Now in a different handi, add layers of cooked rice from step 2 and gravy from step 3 with fried onions, ghee, and a few drops of saffron milk(saffron soaked in milk) sprinkled over each layer. Cover the handi by sealing it tightly with aluminum foil and placing the lid on it. We should set stove in low to medium and cook the biryani rice for 15 to 20 mins.
Now, the perfect biryani will be ready to serve. It is usually served with Mirchi ka salan and Yogurt mint chutney.
I know, I am not very good at writing recipes, so please follow this video when in doubt. My version might be customized from this video.
I hope you will be able to do a perfect Hyderabadi Dum biryani. Enjoy :-)
Until next time,
Linking this post to #FlavoursomeTuesday by Sunita Rajwade of MumbaiOnAHigh and Shilpa Gupte of Metanoia
Also, linking this to #WritingWednesdays hosted by Corinne.


Wow! This is a post my chef hubby will love to read! He too is a fan of the dum biryani and cooks it with much gusto.
ReplyDeleteThank you for joining us at flavoursome Tuesday's, Mahathi!
It's my pleasure to join flavorsome Tuesdays shilpa. Good for you as your husband loves to cook.
DeleteWhat's the difference between regular n dum briyani? my family loves briyani n I've been making it in the oven using store bought mix.
ReplyDeleteThis is probably a healthier version. Will try it out!
Xoxo,
Jamie Chaw
(https://karmie080808.blogspot.com/)
Thanks for dropping by Jamie. A dum biryani is cooked with layers of cooked gravy and 70% boiled rice in a low heat in a sealed big utensil or handi which has thick bottom. So flavors are properly induced in the rice and tastes better than a regular biryani.
DeleteI love dum biryani
ReplyDelete.and the aroma...thinking about it makes me hungry.
Your biryani looks tempting.